
Installing commercial carpet squares is a practical and cost-effective way to enhance your workspace. With the right tools and a systematic approach, you can achieve a professional finish without the need for specialized installers. This guide provides a step-by-step walkthrough to ensure your installation process is smooth and successful.
To install commercial carpet squares, prepare the subfloor by cleaning and leveling it, plan your layout starting from the center, apply appropriate adhesive or use peel-and-stick tiles, lay the tiles methodically ensuring tight seams, and finish by trimming edges and rolling the surface for proper adhesion.
Tools & Materials Needed for Installation
Before beginning the installation, gather the following essential tools and materials:
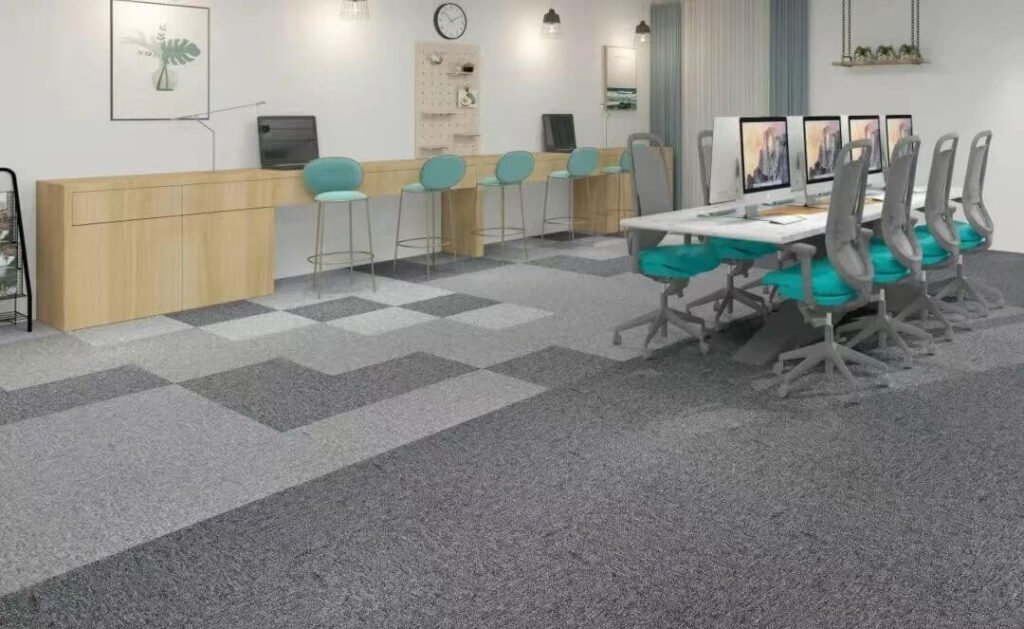
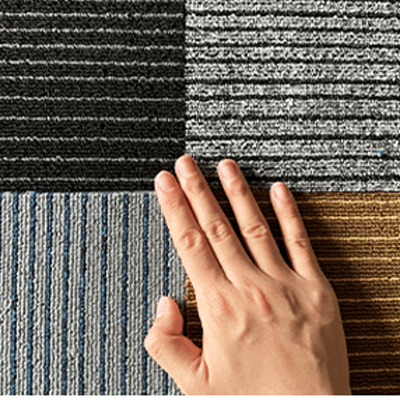
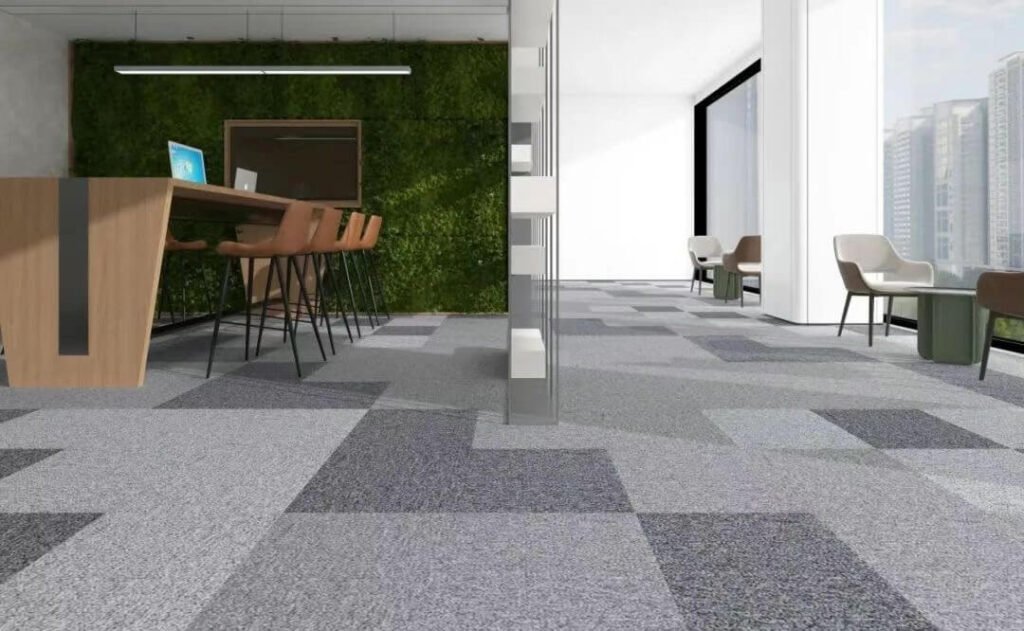
- Carpet Squares: Choose commercial-grade tiles suitable for high-traffic areas.
- Adhesive: Depending on the tile type, select either pressure-sensitive adhesive, double-sided carpet tape, or ensure your tiles have a peel-and-stick backing.
- Utility Knife or Carpet Cutter: For precise cutting and trimming of tiles.
- Measuring Tape: To accurately measure the area and plan tile placement.
- Chalk Line: Helps in marking straight guidelines on the subfloor.
- Straightedge or T-Square: Assists in making straight cuts and aligning tiles.
- Trowel or Adhesive Spreader: For even application of adhesive, if required.
- Carpet Roller or Hand Tamper: Ensures tiles are firmly set and adhesive bonds properly.
- Safety Gear: Gloves and safety glasses to protect during cutting and handling adhesives.
Having these tools and materials ready will streamline the installation process and help achieve a professional result.

Preparing the Subfloor for Carpet Tile Installation
A well-prepared subfloor is crucial for a successful carpet tile installation.
Cleaning & Leveling the Floor
- Cleaning: Remove all furniture and debris from the area. Sweep and vacuum the subfloor to eliminate dust and dirt. For concrete subfloors, ensure they are dry and free from moisture.
- Leveling: Inspect the subfloor for any irregularities, such as cracks or holes. Use a leveling compound to address uneven areas, ensuring a smooth surface for the tiles.
Proper preparation prevents issues like tile lifting and uneven wear.
Measuring & Planning Your Layout
- Finding the Center: Measure the length and width of the room to locate its center point. Mark intersecting lines using a chalk line; this will serve as a reference for laying tiles symmetrically.
- Dry-Laying Tiles: Place tiles along the chalk lines without adhesive to visualize the layout. This helps in adjusting the pattern and ensuring that cut tiles at the edges are uniform and aesthetically pleasing.
A well-thought-out layout minimizes waste and enhances the visual appeal of the flooring.
Step-by-Step Guide to Installing Commercial Carpet Squares
Dry-Laying the Carpet Tiles
- Test Placement: Before applying adhesive, lay out the tiles along the chalk lines to ensure the pattern aligns correctly and to make necessary adjustments.
Installing the Carpet Squares
- Adhesive Application: Depending on the tile type:
- Peel-and-Stick Tiles: Remove the backing and press the tile onto the subfloor.
- Glue-Down Tiles: Apply adhesive to the subfloor using a trowel, following the manufacturer's guidelines, and then place the tile.
- Laying Tiles: Start from the center and work outward, pressing each tile firmly into place. Ensure tiles are snug against each other to prevent gaps.
Cutting and Trimming for a Perfect Fit
- Measuring Cuts: For edges and corners, measure the required tile size, mark it, and cut using a utility knife along a straightedge.
- Fitting Tiles: Place cut tiles carefully to maintain the pattern and ensure a seamless look.
Attention to detail during cutting ensures a professional finish.

Securing and Finishing the Installation
Using a Carpet Roller for Proper Adhesion
- Rolling: After laying the tiles, use a carpet roller to apply even pressure across the floor. This ensures the adhesive bonds effectively and removes any air pockets.
Sealing and Edge Finishing
- Trimming Excess: Trim any excess material along walls for a clean edge.
- Transition Strips: Install transition strips at doorways or where the carpet meets other flooring types to protect edges and provide a finished look.
Proper finishing touches enhance durability and aesthetics.
Maintenance Tips to Extend Carpet Tile Life
Regular Cleaning & Vacuuming
- Vacuuming: Regular vacuuming prevents dirt buildup and maintains the carpet's appearance.
- Spot Cleaning: Address spills promptly using appropriate cleaning solutions to prevent stains.
Replacing Damaged Carpet Squares
- Tile Replacement: One advantage of carpet squares is the ease of replacement. If a tile is damaged, it can be removed and replaced without disturbing the surrounding tiles.
Consistent maintenance prolongs the life of your carpet tiles and keeps them looking new.
Conclusion
Installing commercial carpet squares is a straightforward process when following the right steps. By properly preparing the subfloor, planning your layout, and using the correct installation techniques, you can achieve a polished, professional-looking result. Regular maintenance will keep your carpet in excellent condition for years to come, making it a smart and stylish choice for any commercial space.
